
How To
- Retrieve files from Windows
- Recover Windows XP Data
- Recover Windows 7 Data
- NTFS Partition Restoration
- Recover data from FAT Partition
- Recover Files from Formatted Drive
- Restore files on Windows Vista
- Restore files after Windows Re-install
Info
- Restore Windows data
- Retrieve Data on Windows OS
- Windows Partition Recovery
- Restore lost files
- Lost File Restoration Windows 7
Procedure to Run CHKDSK on Windows 10
Check Disk Utility, commonly known as CHKDSK, helps to find and fix the system errors on the hard drive. You need to run this command every once in a while to keep your hard drive error free. Now, most of the people seem to upgrade to Windows 10. Well, the steps given below here explain how to run the CHKDSK command in Windows 10.
- Open the File Explorer and click on This PC
- Select the hard disk drive on which you want to run chkdsk and right click on that
- Click on Properties
- In the Properties window, select the Tools tab
- Now, click on Check button under Error Checking
It scans and fixes all the system errors on Windows 10 computer. Also, you can run it using the command prompt. For running chkdsk, open command prompt and type CHKDSK X: /F and hit Enter.
Remember!!!
You should backup before running chkdsk on your computer because many people have complained that chkdsk removed their data from the computer.
What if you have performed chkdsk fix on your computer without having a backup and ended up in losing data? Well, you don't have to worry as it is possible to recover data using Windows File Recovery software.
How to Recover Data Lost after CHKDSK using Windows File Recovery Software?
Step 1: Launch the software on your Windows PC.
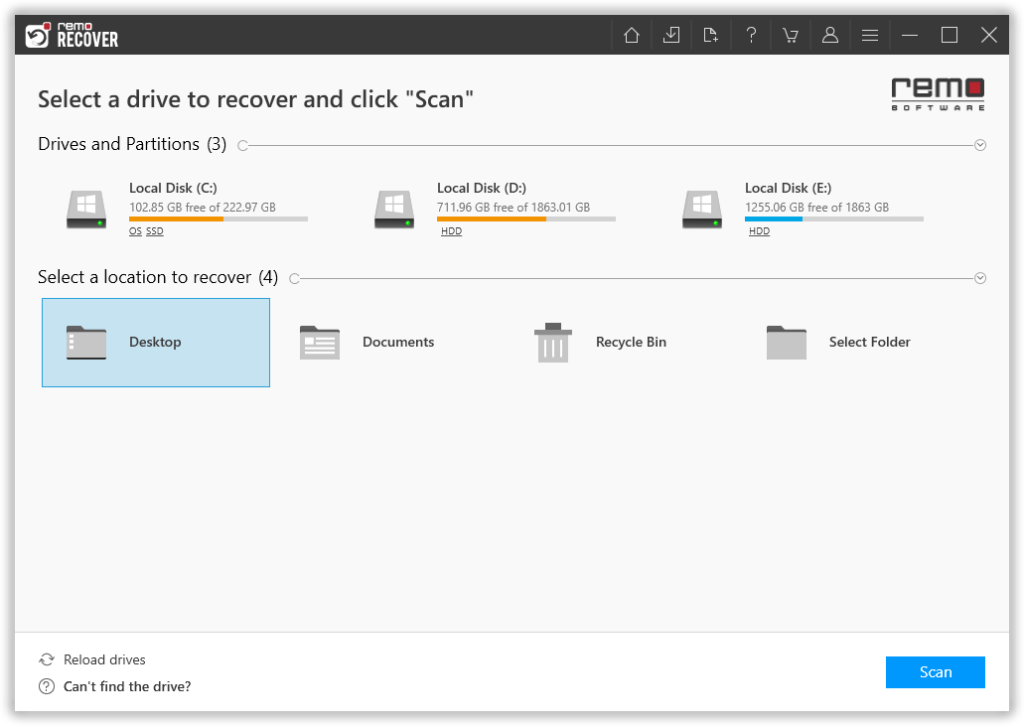
Step 2: From the main screen, you are asked to choose the drive or the folder from where you want to recover files and click on the Scan button.
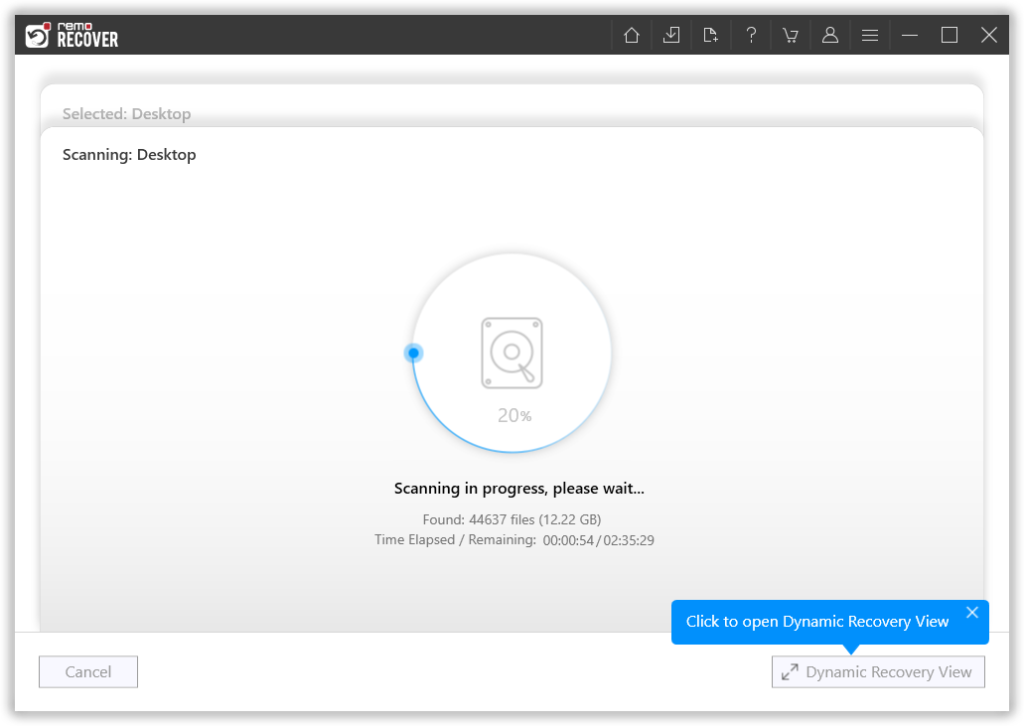
Step 3: The tool starts scanning the selected drive; you can use the Dynamic Recovery View option to view the file recovery process.
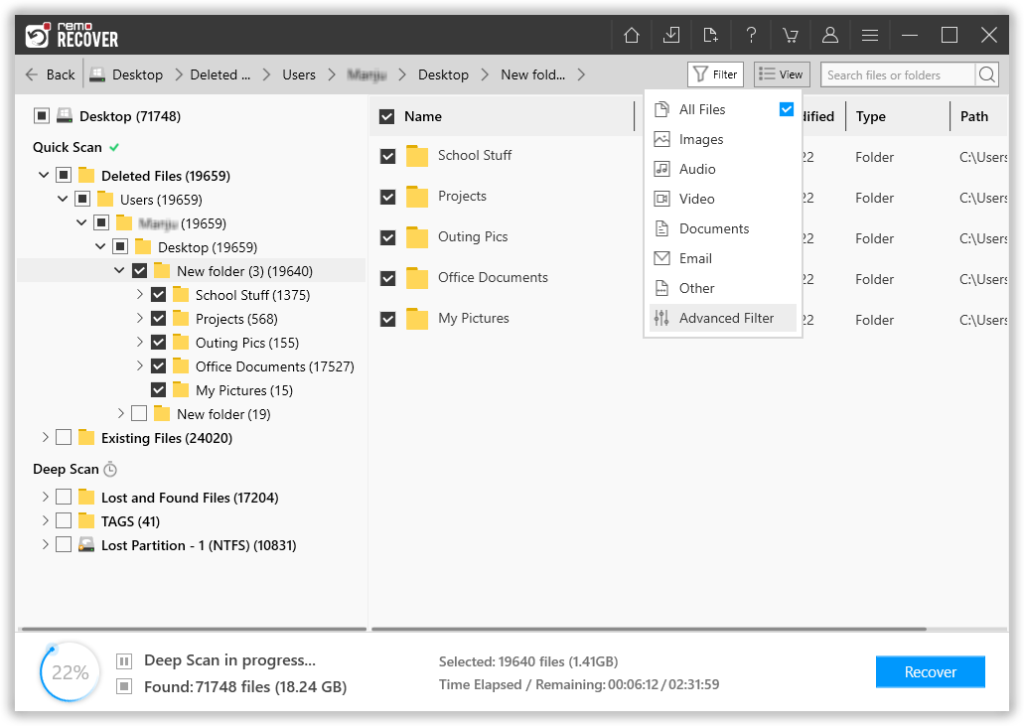
Step 4: A complete list of recovered files from the selected drive will get displayed on your screen. Options like the Advanced Filter option and the Search option come to help you effortlessly find the files that you are looking for.
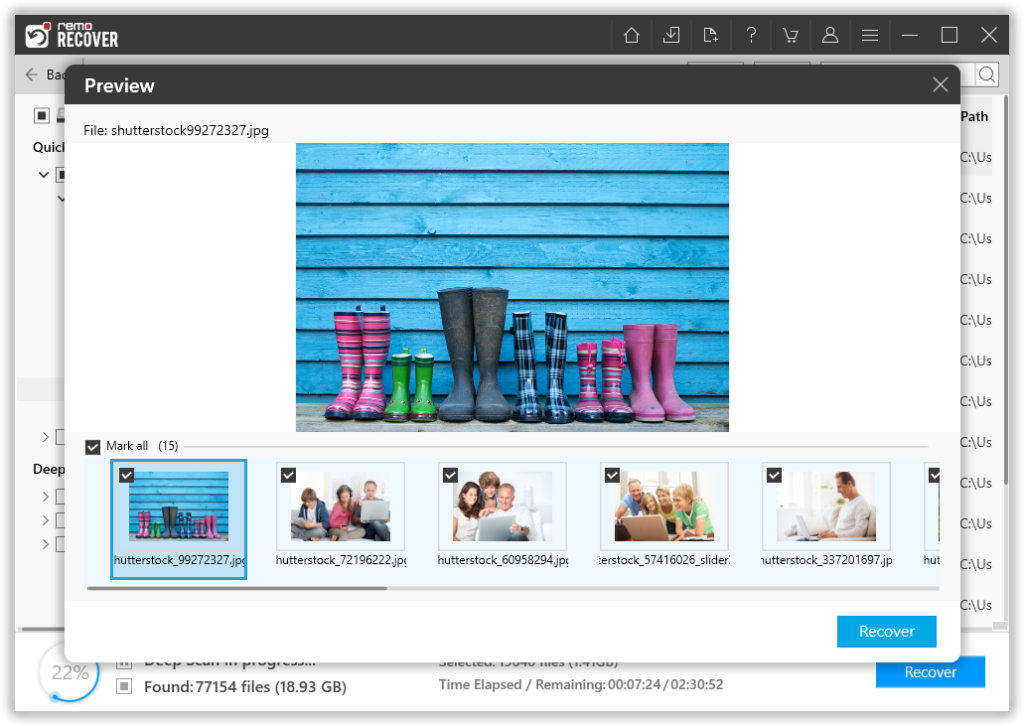
Step 5: This software also comes with our most powerful feature to date, called the Augmented Preview option. To help you view the recovered files without having to save the data.
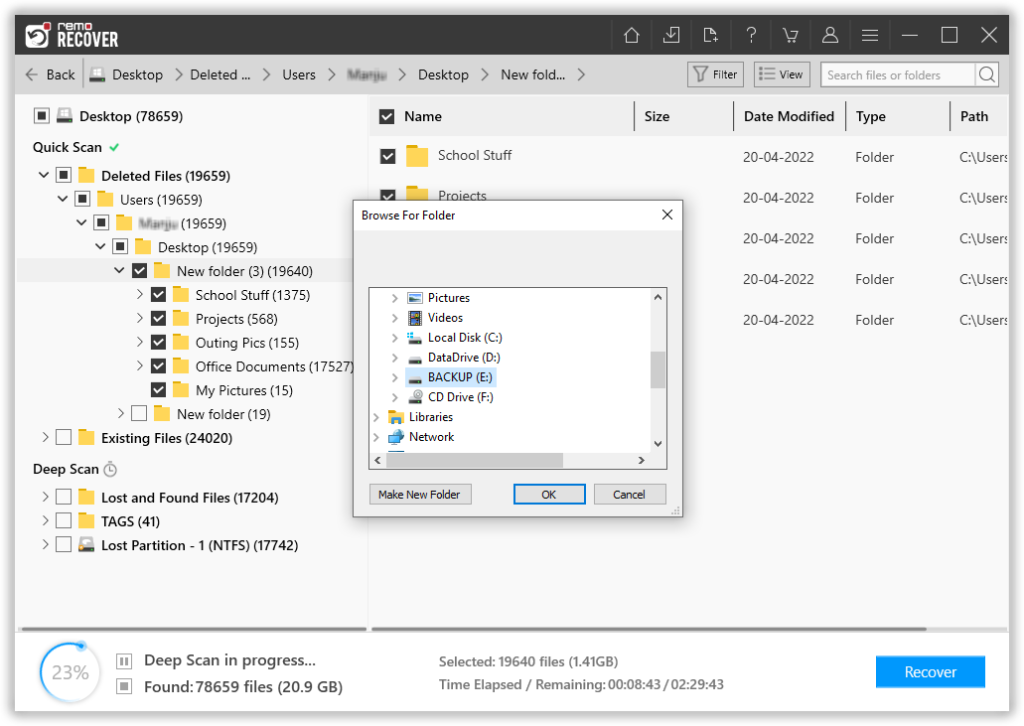
Step 6: The software also lets you select the file(s) that you would like to recover without bringing in any files and folders that you do not want to. The last step in the file recovery journey is to select a location where you want to save the recovered files.
More about Windows File Recovery Software-
- The software helps to recover more than 300 types of files
- Supports file recovery from FAT, NTFS, and exFAT partitions/drives
- Helps to recover data from external hard drives, memory card, USB Flash drive and other storage devices
- Provides a Find option to locate the particular file from the list of recovered files based on file attributes
- Comes with a Preview option which helps to view the recovered files prior to restoration