Recover Windows XP
Windows operating system can be considered as one of the most widely used operating systems worldwide. Among the various versions of Windows OS, it is Windows XP which has been more popularly and widely used in recent times. The popularity of Windows XP is due to the fact that it is a client based OS and has an interactive user interface that is easy to use than most of the other operating systems. But, this does not mean that Windows XP is completely error-free.
One of the key features of the Windows XP operating system is that it lets you connect multiple hard drives, and use them as an internal or external hard drive. This secondary hard drive is definitely an advantage, as the user can increase the capacity of the memory storage to a great extent. But there are some scenarios in which, this secondary hard drive results in loss of data. When something like this happens, the BIOS fails to detect the primary hard drive, making the data in it inaccessible. In such a scenario, you can make use of the System Restore option, and try to restore the operating system, to a last good known state. You can perform the restore task using the steps given below,
- Firstly, click on the All Programs list in the Start Menu. Click on Accessories and select System Restore option from the System Tools option.
- Select the Restore my computer to an earlier time option from the Welcome to System Restore page, and then click Next.
- From the On this list, click a restore point list, select the most recent restore point, on the Select a Restore Point page. Now, click on Next.
- A list of configuration changes that System Restore will make gets displayed. Click on OK.
- Select the Next option, in the Confirm Restore Point Selection page.
- Once you click on the Next button, the system starts to restore the computer to the selected configuration and restarts the computer.
The System Restore option is a helpful option provided that you have taken a backup of all the files on your computer. If an updated backup is not available, you will end up losing valuable data from your PC. You can make use of the Windows XP File Restore software, in order to recover data from Windows XP. This powerful data recovery software lets you recover deleted/lost files and partitions from a crashed hard drives with ease. This software is of great use if he needs to retrieve files from Windows Recycle Bin which have been deleted accidentally. The software helps to recover Microsoft Excel files and also restore other Office files like Word documents and PowerPoint presentation on Windows.
Easy steps to restore files from Windows XP systems
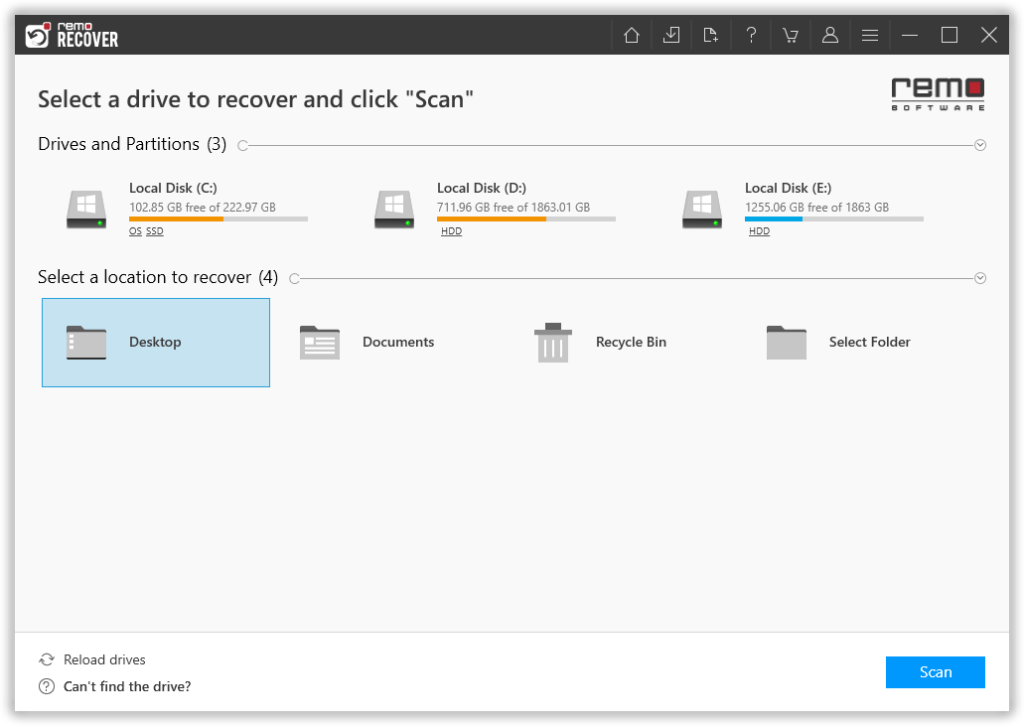
Step 1: Download and run the file recovery application on your Windows XP system. Click on the Recover Files option. From the list of logical drives displayed, pick the drive from where the files are been lost or deleted.
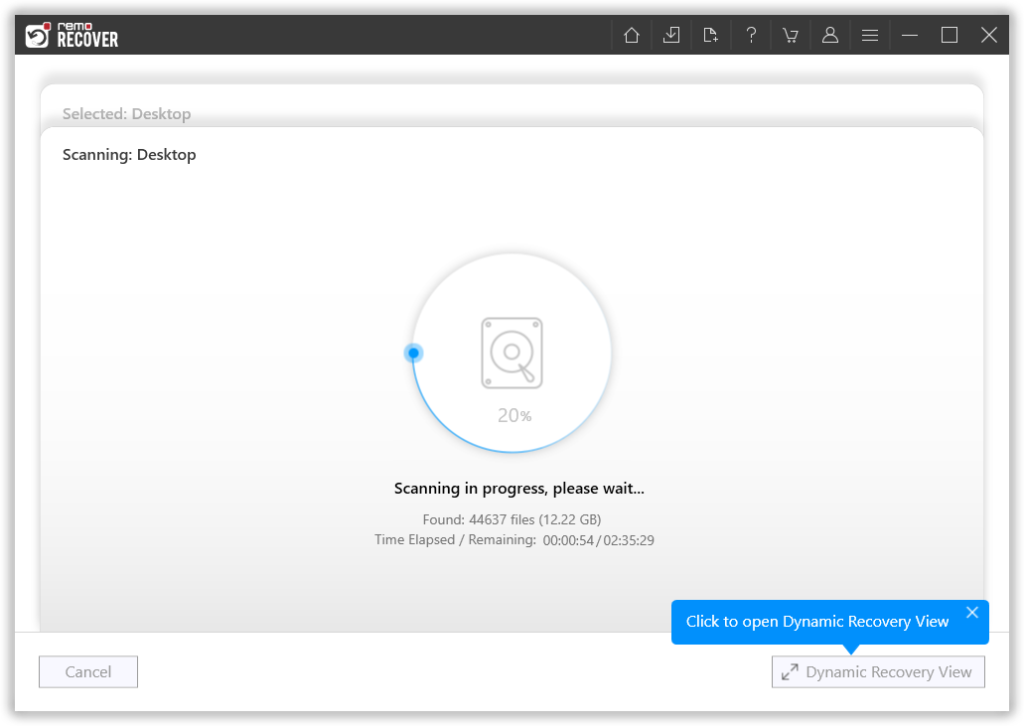
Step 2: Press on the Scan button to initiate the file recovery operation.
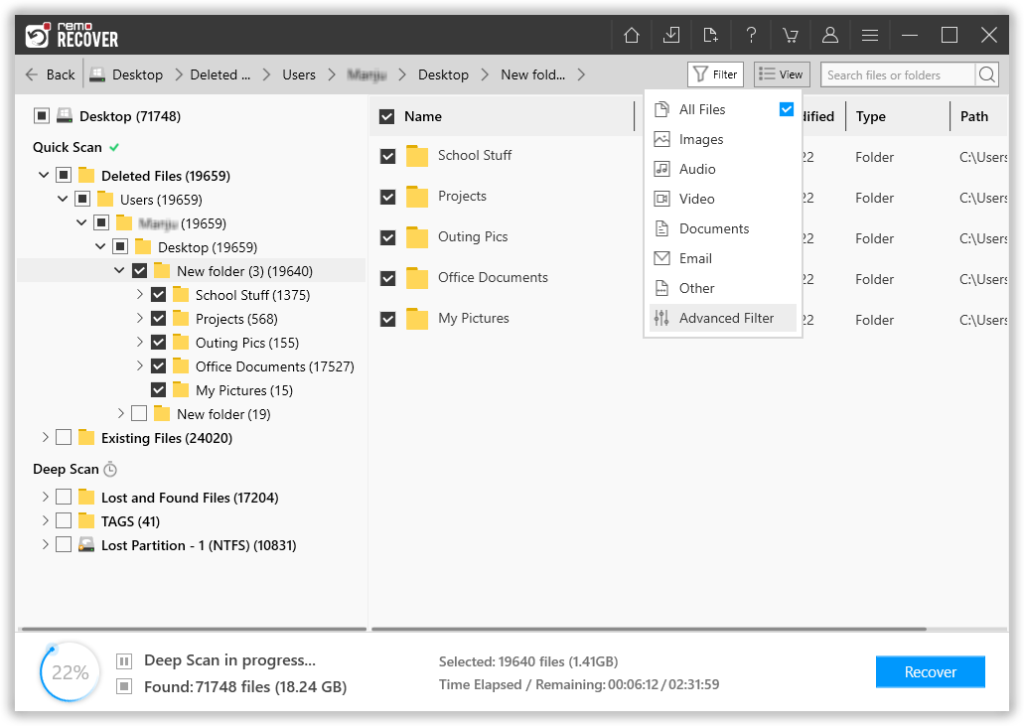
Step 3: Upon completion of the scan process, a window appears with a list of all recovered files. The files can be viewed in Data View or File Type View.
Step 4: If you wish to preview a specific file then simply right-click on it.

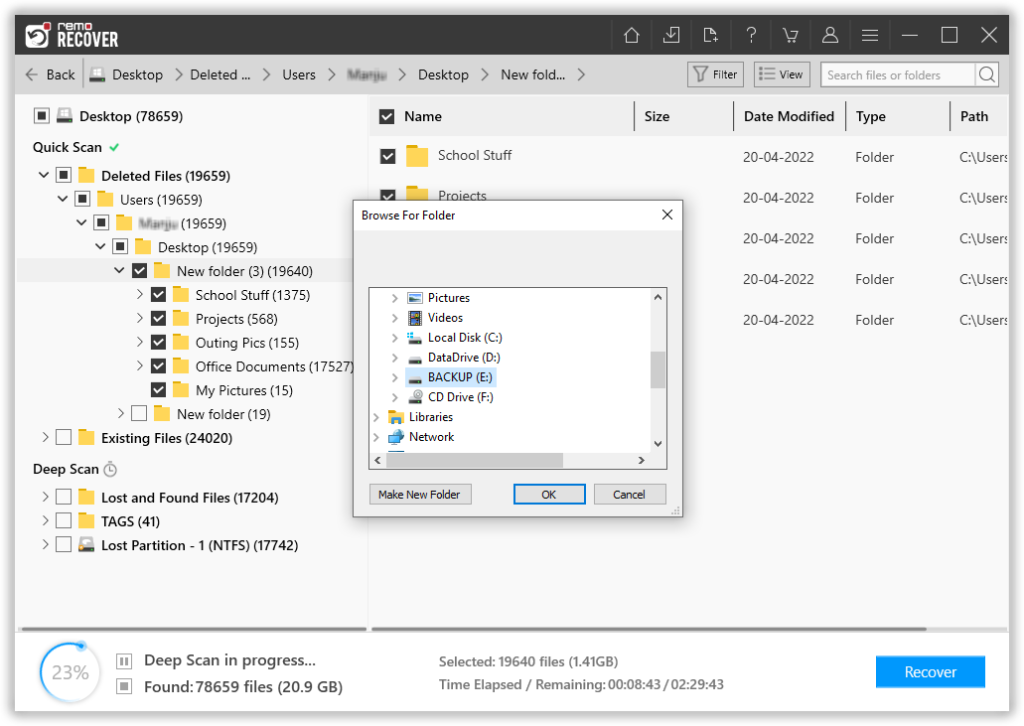
Step 5: Proceed to save the files recovered from Windows XP drive to a suitable storage location.