How to Recover Lost Files in Windows 7?
Windows 7 is one of the prominent operating systems in the Windows family of operating systems. There are various advanced features and several enhancements available in Windows 7 compared to Windows Vista. It is available in three different versions namely, the Home Premium version, the Professional version and the Windows 7 Ultimate version. The three versions are designed to suit specific sections of users and are priced accordingly.
There are a few advanced and unique features which make Windows 7 stand out among other OS. The features can be summarized as follows,
- Windows 7 provides better sharing options for multiple PC's on the Home network. It lets you share files, photos, music and all other data easily within the users in the HomeGroup.
- Continue to use programs that work on Windows XP with the features of Windows 7, by making use of the Windows XP mode option.
- Open the recently used files quickly and easily by making use of the Jump lists option.
- Windows 7 also provides options for scheduling Backups and restoring data on a regular basis.
Though Windows 7 provides such advanced and highly useful features, there are scenarios in which the operating system fails, resulting in loss of data. If the error is related to system files, it can be fixed using an in-built repair tool called the System Restore that comes with the Windows 7 installation disc. You can use the Startup Repair tool by following the steps given below,
- Boot your PC to the System Recovery Options screen.
- From the System Recovery Options screen, choose the Startup Repair option.
- Once you select the Startup Repair option, the Startup Repair tool scans your PC completely and tries to fix any errors related to the startup of your PC.
- If any problems are detected, they are displayed in the window, and if no errors are detected it displays a message that states that no errors have been detected.
The disadvantage of this tool is that it can only repair errors relating to system startup. It cannot repair or recover lost or deleted files and partitions. To recover deleted/lost files and partitions on Windows 7, you would require the help of a good data recovery software. Windows 7 Data File Restoration software lets you recover deleted/lost files from the most severe data loss scenario on Windows 7. The software supports Excel file recovery on Windows and also guides you on how to recover lost files of different formats from Windows 7, 8, 10, Vista, XP.
How to recover files from Windows 7 systems?
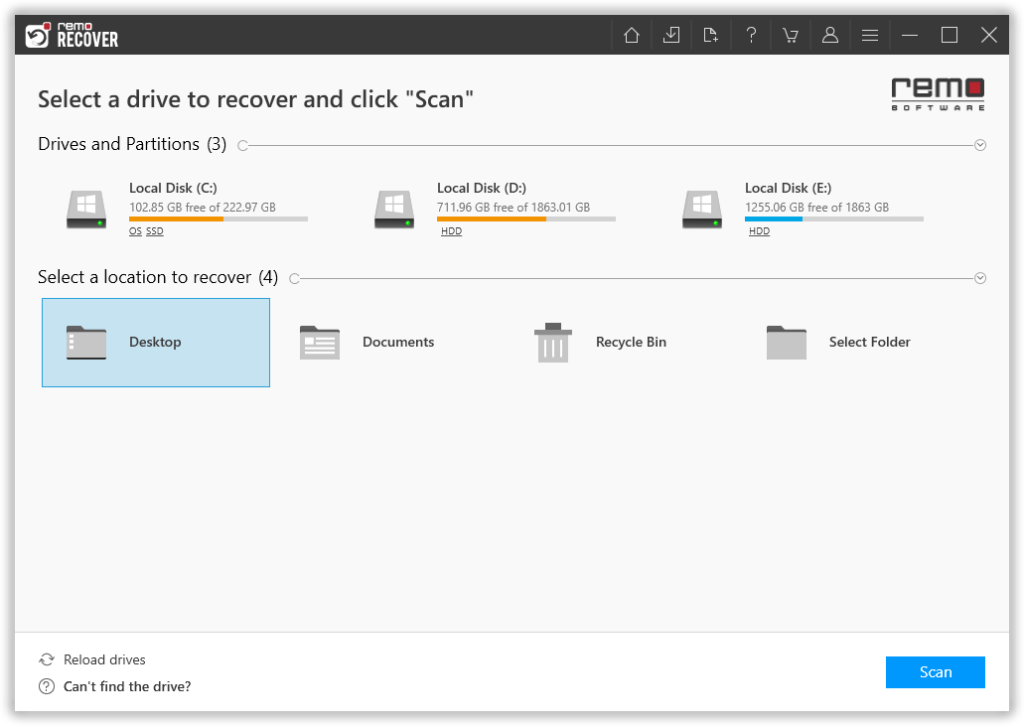
Step 1: Install the application on your Windows 7 PC. Choose the option as Recover Files. You also need to select the drive from where the files are been lost/deleted. Click on the Scan icon to begin the file recovery process.
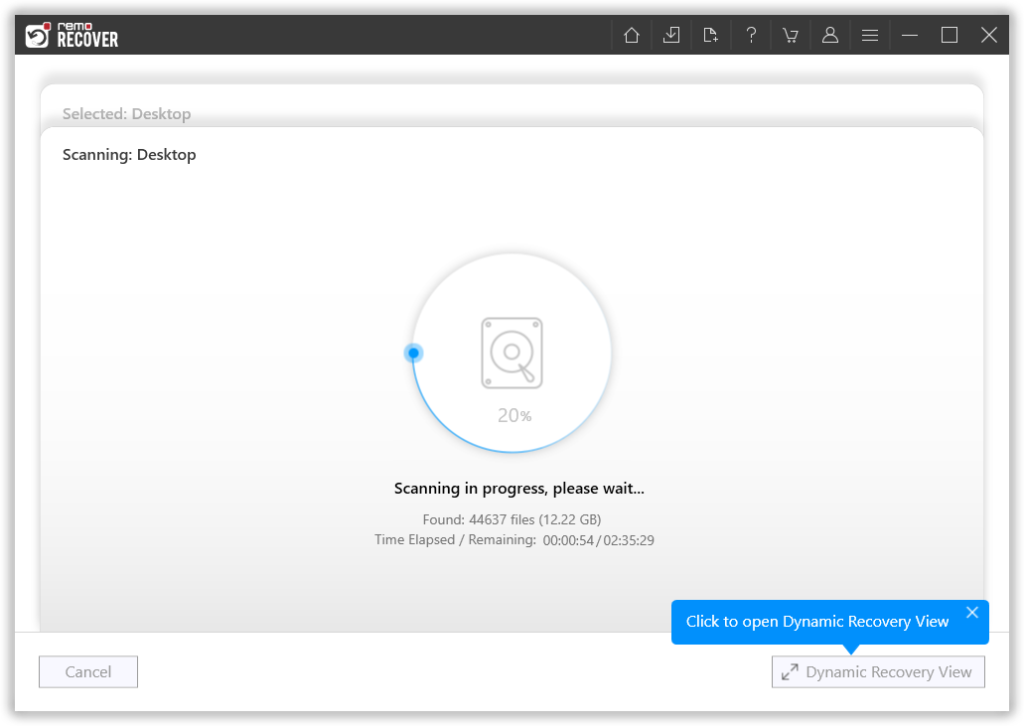
Step 2: The program scans for the files from the Windows partition.
Step 3: After a complete scan, the files appear in Data View and File Type View layouts.

Step 4: To preview a particular file, simply right-click over it.

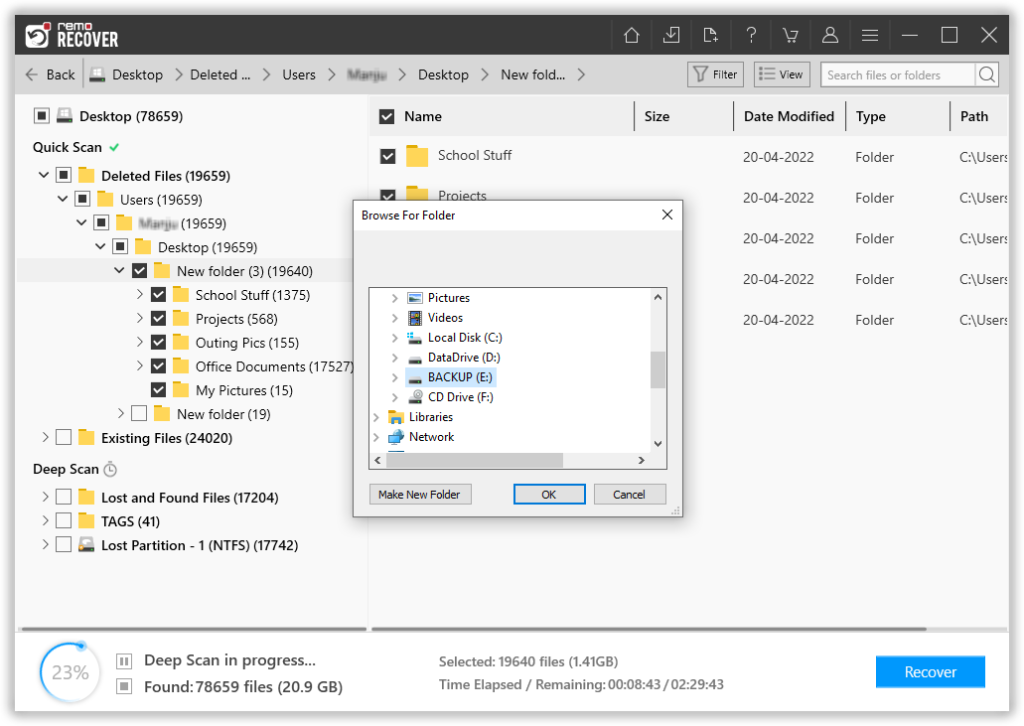
Step 5: Up next, browse a location to save the files on the computer.