
NTFS Recovery
The New Technology File System better known as NTFS is one of the most stable and efficient file systems in use today. Due to its stability and self-repairing properties, it is the preferred file system on most Windows operating systems including Windows XP, Windows 2000 NT, Windows Vista, Windows 7, Windows 8 and Windows 10. NTFS supports various features not available in the FAT file system. These features are the very reason for NTFS file system being preferred over FAT, on most of the new Windows OS.
Some of the key features of the NTFS file system can be summarized as follows-
- It provides a powerful storage solution like RAID and also supports large volumes.
- Wide support for names based on Unicode and Integrated File Compression.
- Supports very large files and provides security options on both fixed and removable disks.
- Keeps track of file clusters by making use of the B-tree directory scheme and supports long file names.
Despite these advanced features, the NTFS file system is prone to data loss resulting in the partitions getting lost or deleted. The reasons for data loss might be many like- virus attacks, malware, accidental repartitioning of the hard drive, corruption of the system files, etc. Though the file system gets corrupted and the files become inaccessible, there is nothing to be anxious about, as the deleted files can be recovered with the help of an effective recovery tool.
Windows File Retrieval Tool lets you recover all the files present on your NTFS partitions with ease. This comprehensive data recovery software lets you recover deleted/lost documents, media files and partitions from both NTFS and FAT partitions on Windows. The software enables you to retrieve files from Window 8, 7, 10, XP, Vista and from other latest Windows versions.
Note: Apart from recovering files from NTFS partition, this easy to use software can also be used on All versions of Windows operating systems including Windows 7 to retrieve files from a RAW partition and FAT partitions effortlessly.
Steps to recover NTFS partitions
Step 1: Launch the software on your Windows PC.
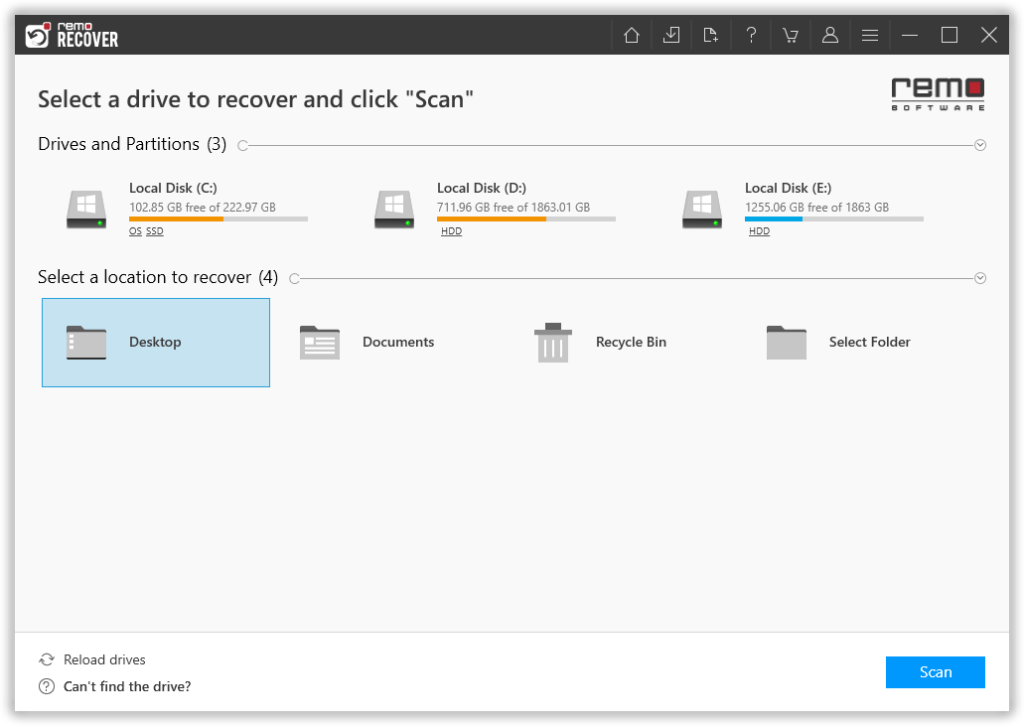
Step 2: From the main screen, you are asked to choose the drive or the folder from where you want to recover files and click on the Scan button.
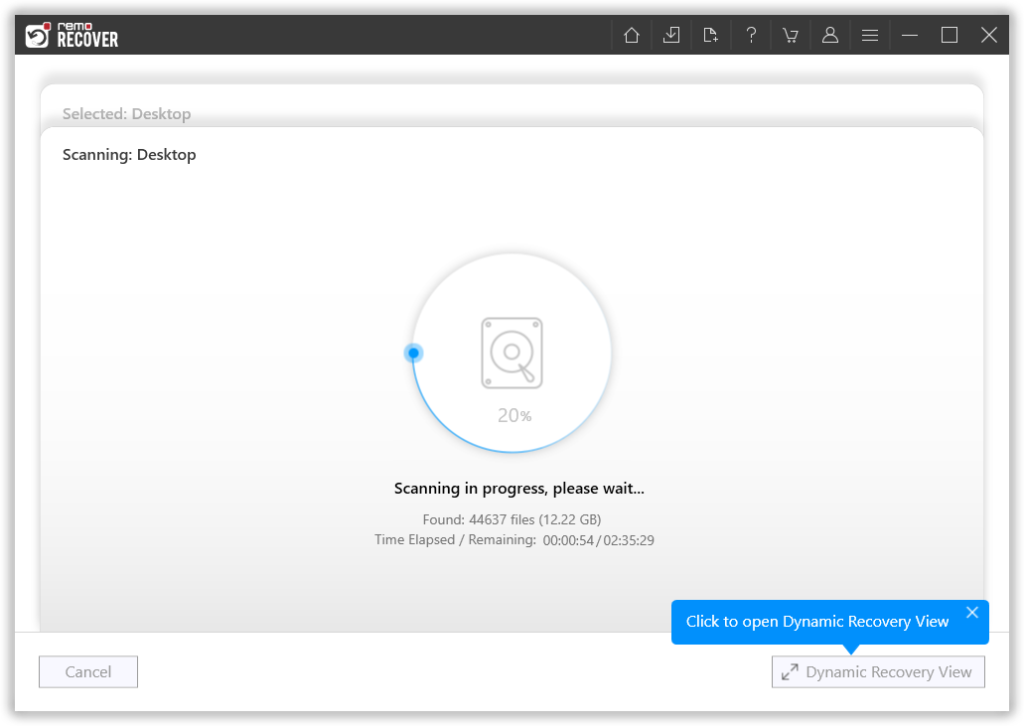
Step 3: The tool starts scanning the selected drive; you can use the Dynamic Recovery View option to view the file recovery process.
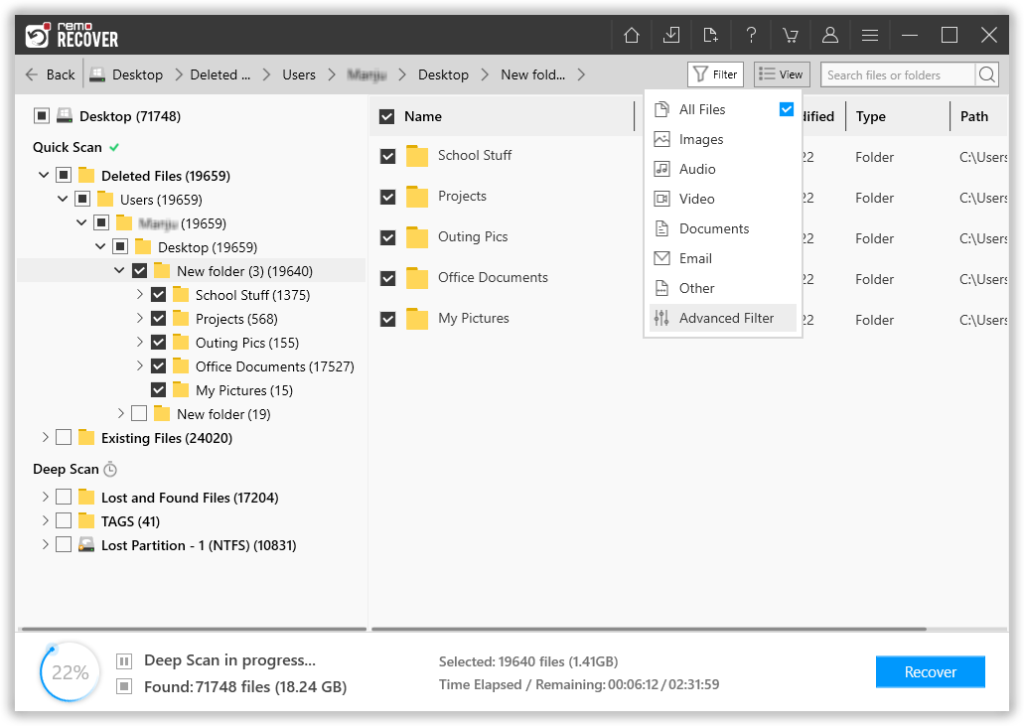
Step 4: A complete list of recovered files from the selected drive will get displayed on your screen. Options like the Advanced Filter option and the Search option come to help you effortlessly find the files that you are looking for.
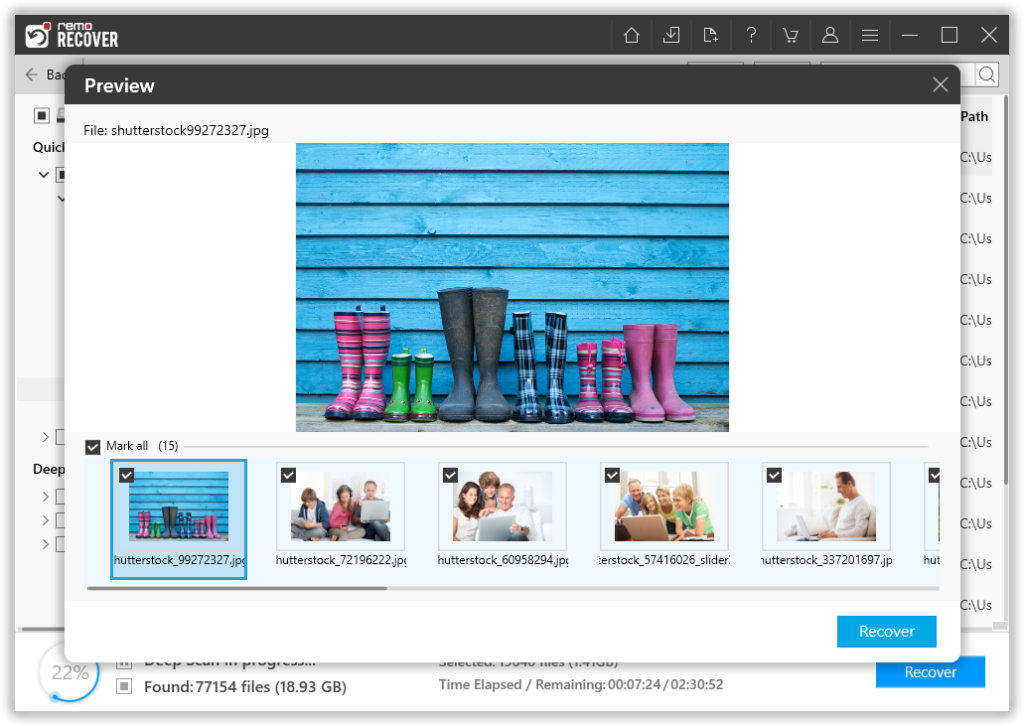
Step 5: This software also comes with our most powerful feature to date, called the Augmented Preview option. To help you view the recovered files without having to save the data.
Step 6: The software also lets you select the file(s) that you would like to recover without bringing in any files and folders that you do not want to. The last step in the file recovery journey is to select a location where you want to save the recovered files.
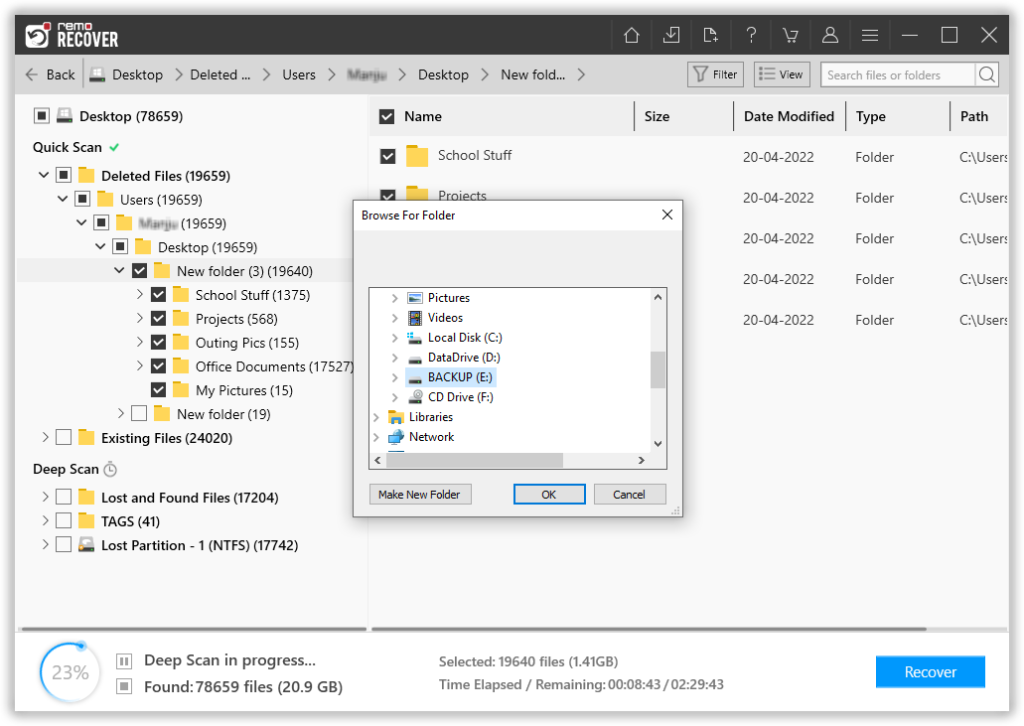
Use the "Save Recovery Session" option in the software to save the scanned information. You can later make use of the "Open Recovery Session" option once you buy and activate the full version of the software to load the previously scanned information and save the recovered data.